
Google Search Console is a must-needed tool for every site owner whether they use WordPress or not.
As I’m a WordPress fan, today I’ll show you how to add Google Search Console (GSC) to your WordPress website.
Google Search Console (GSC) gives you enormous data to analyze your Google Ranking. Not only that, you can identify and fix crawling and indexing related errors using it.
No other tool can help you to optimize your website for SEO like the GSC.
It can be added to your WordPress website in many ways. If you use any SEO plugin such as ‘Yoast SEO’ or ‘Rank Math’, the job becomes much easier.
We have used both ‘Yoast SEO’ and ‘Rank Math’. Personally, I prefer ‘Rank Math’ over ‘Yoast SEO’ for some specific reasons.
Today I’ll show you how you can add GSC using ‘Rank Math’ SEO plugin.
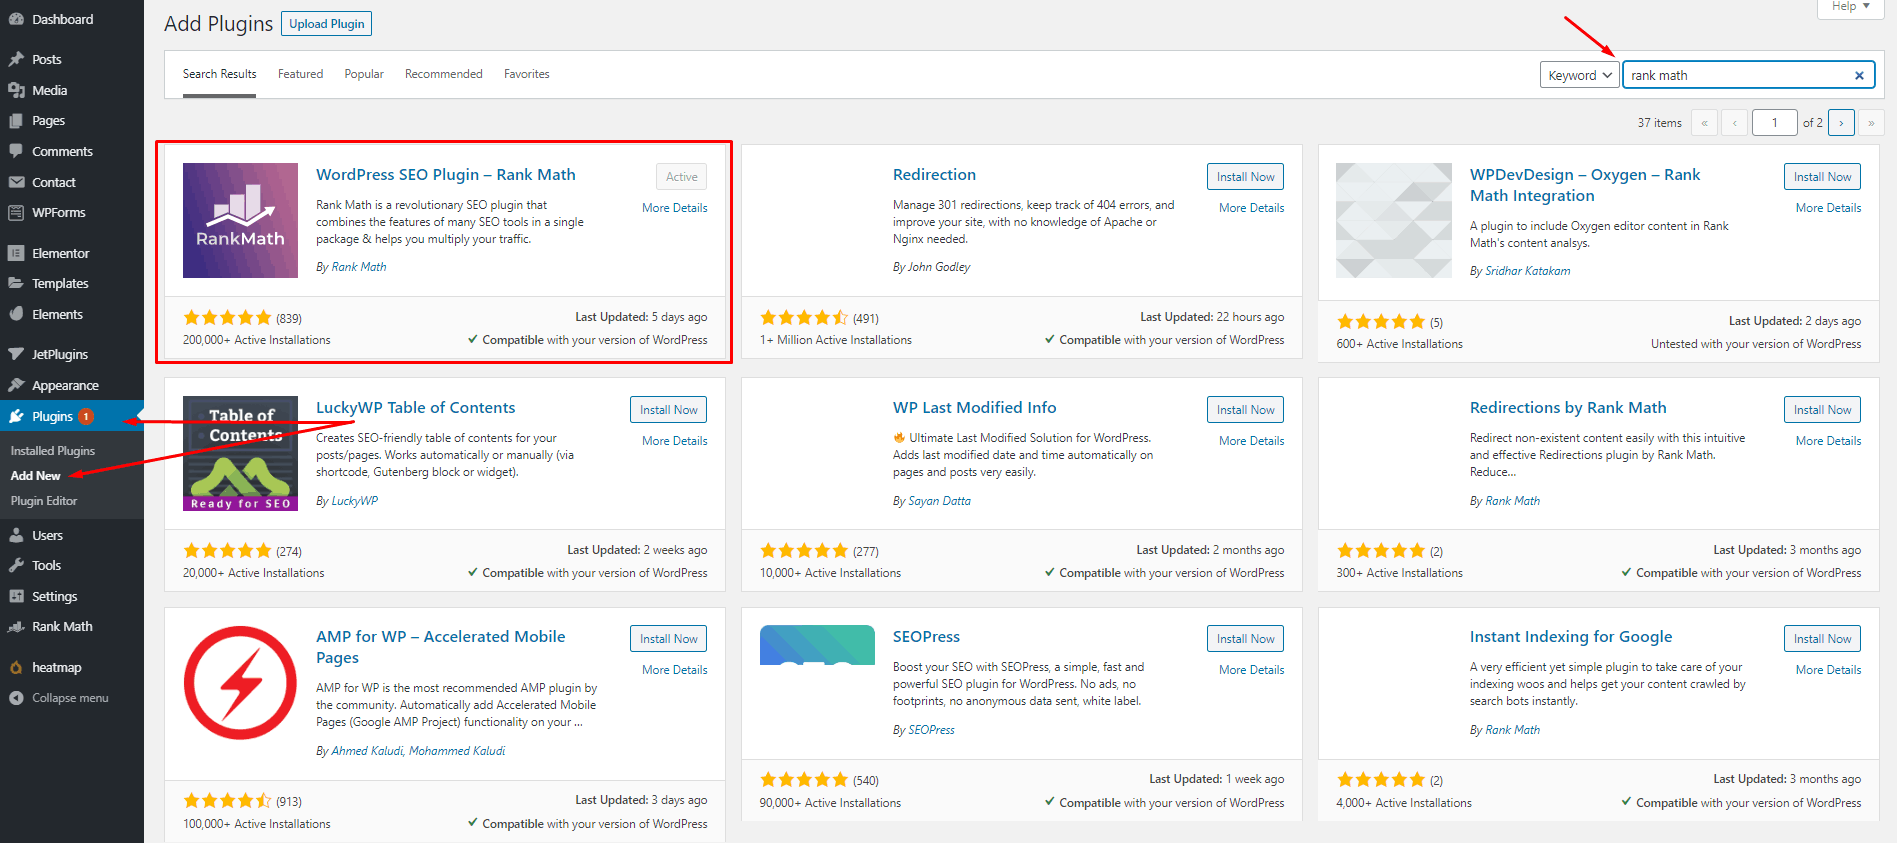
Step 1: At first, install and activate ‘Rank Math’ SEO plugin on your WordPress website.
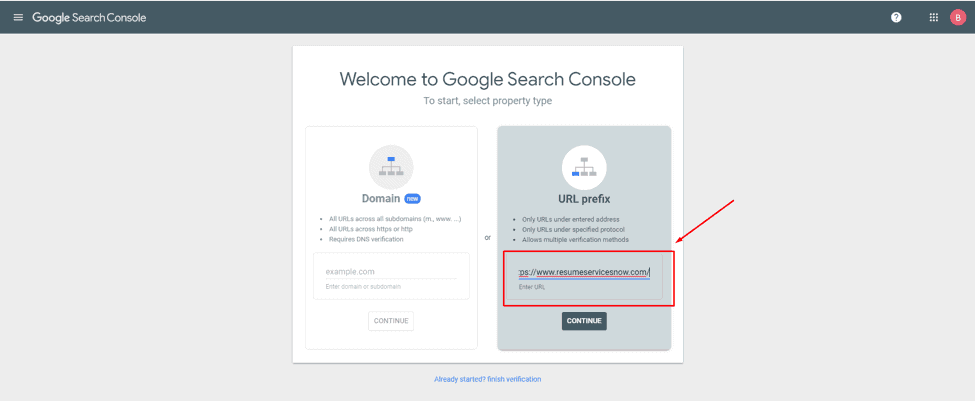
Step 2: Then, go to Google Search Console while logged in your associated Gmail account. Copy the website URL and paste it in the 2nd field as shown in the above picture. And click ‘Continue’ under the field.
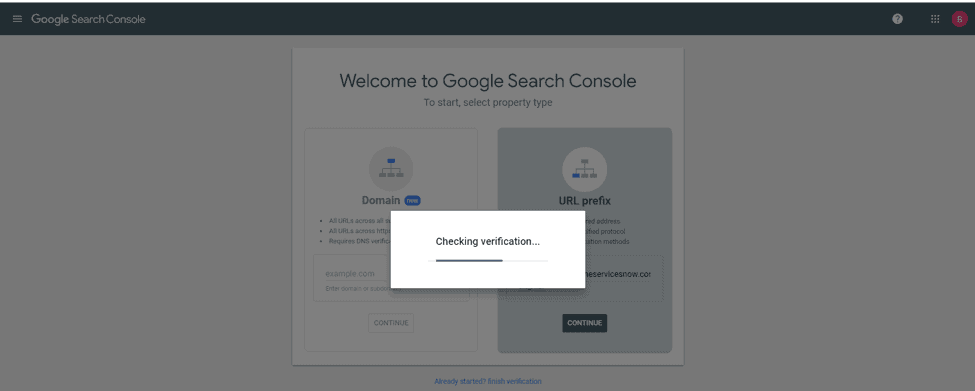
Step 3: Google will check for verification as shown in the above image and you will be landed on a page as shown below (Image 4). Click on the ‘HTML Tag’. (Image 4)
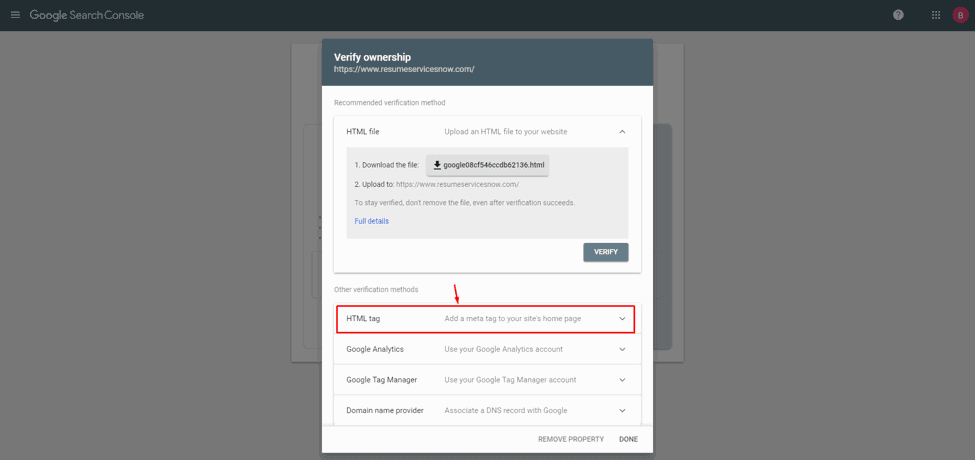
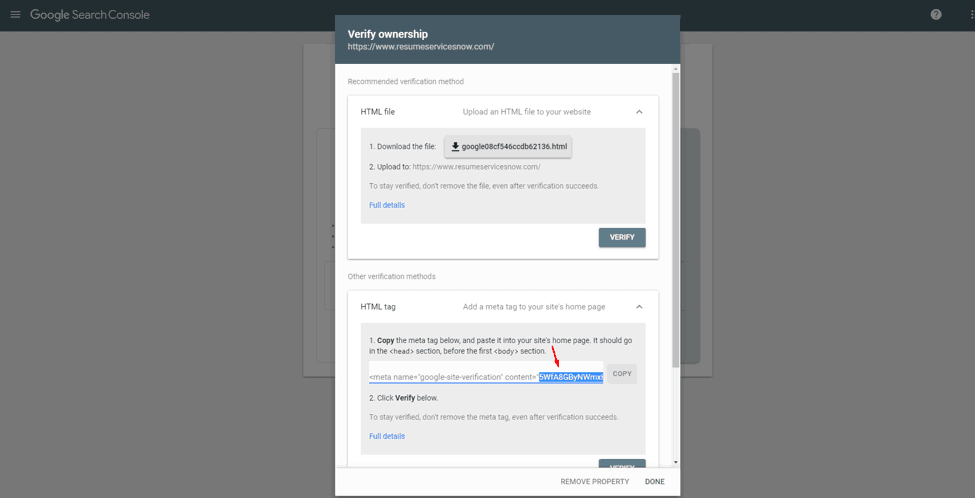
Step 4: Copy the Google Verification code inside the quotation mark. (Image #5)

Step 5: Go to your website’s dashboard and click “Rank Math’ –> ‘General Settings’ –> ‘Webmaster Tools’. Then paste the previously copied code in the ‘Google Search Console’ field.
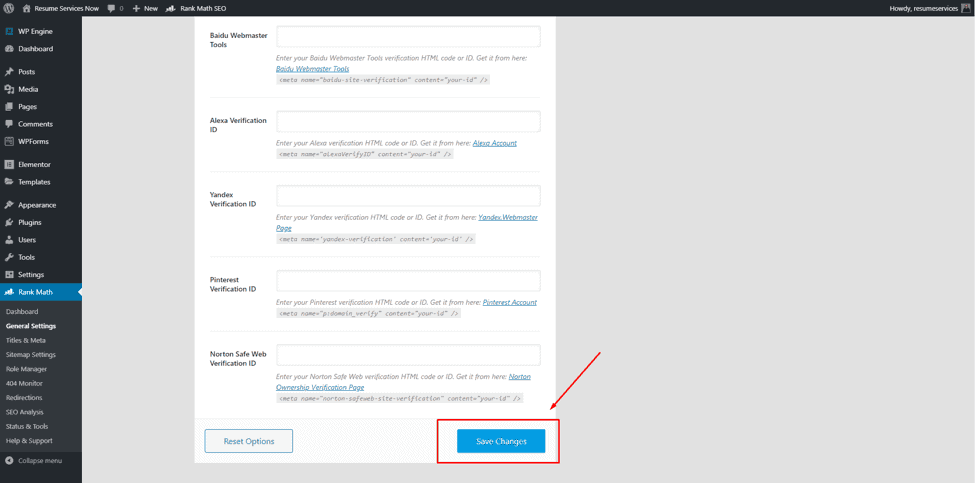
Step 6: Scroll down the page and click the ‘Save Change’ button as shown in image #7
How to Verify Google Search Console
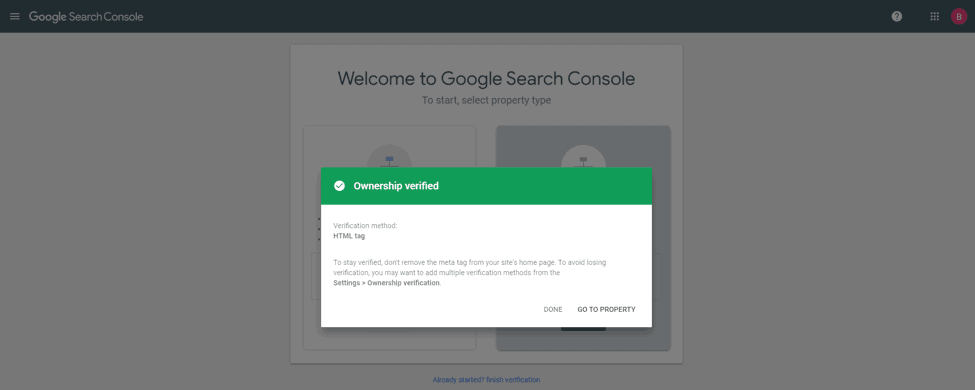
Step 7: Go to your Google Search console tab again and click the ‘Verify’ button under the ‘HTML Tag’. It’ll take a few seconds and a popup message of ‘Owner Verification’ will appear as shown below.
How to Connect Rank Math with Google Search Console
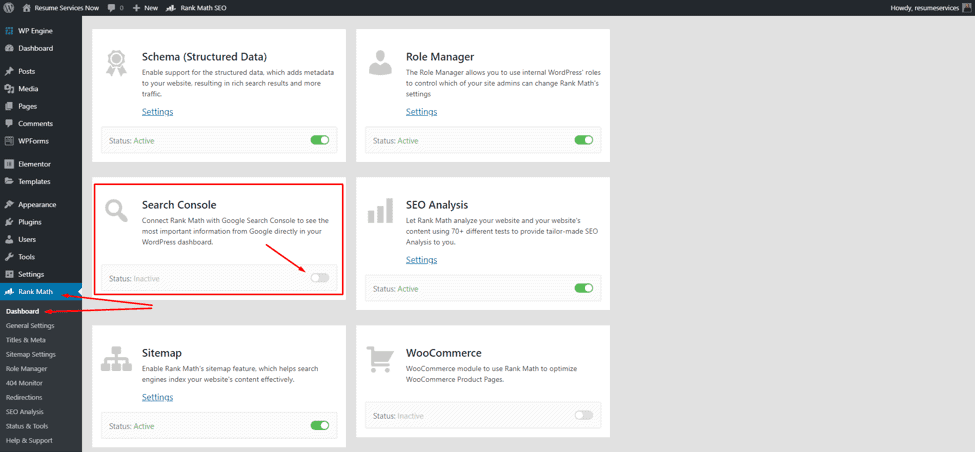
Step 8: Now you will need to connect Rank Math with Google Search Console to see the most important information from Google directly in your WordPress dashboard. To do it, go to Rank Math ‘Dashboard’ again and scroll to the bottom of the page. Click the ‘On button’ under the ‘Search Console’ as shown in image #9. The grey button will appear green.
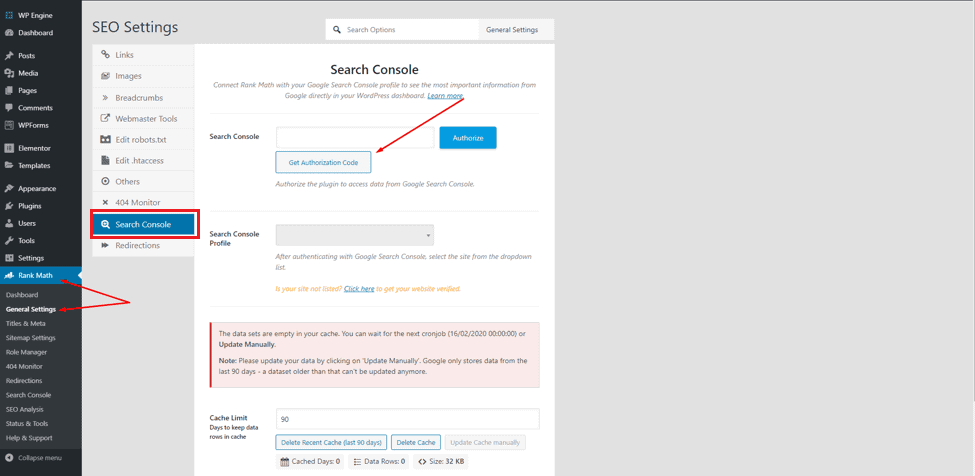
Step 9: Now go to the Rank Math ‘General Settings’ again and click on the ‘Search Console’ button as shown in image #10.
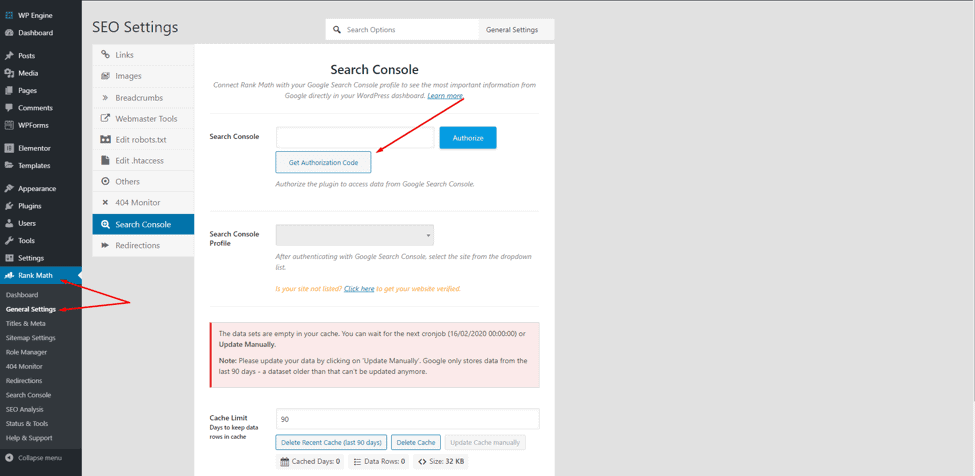
Step 10: Click on the ‘Get Authorization Code’ button as shown in the above image.
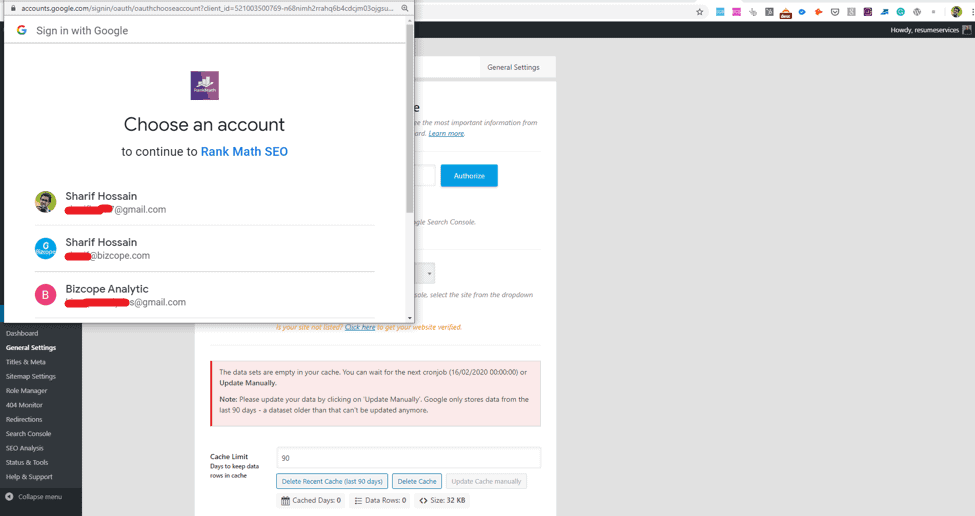
Step 11: You will be taken to a popup window where you need to choose an account for Google Search Console. Just select the account or login using the associated account.
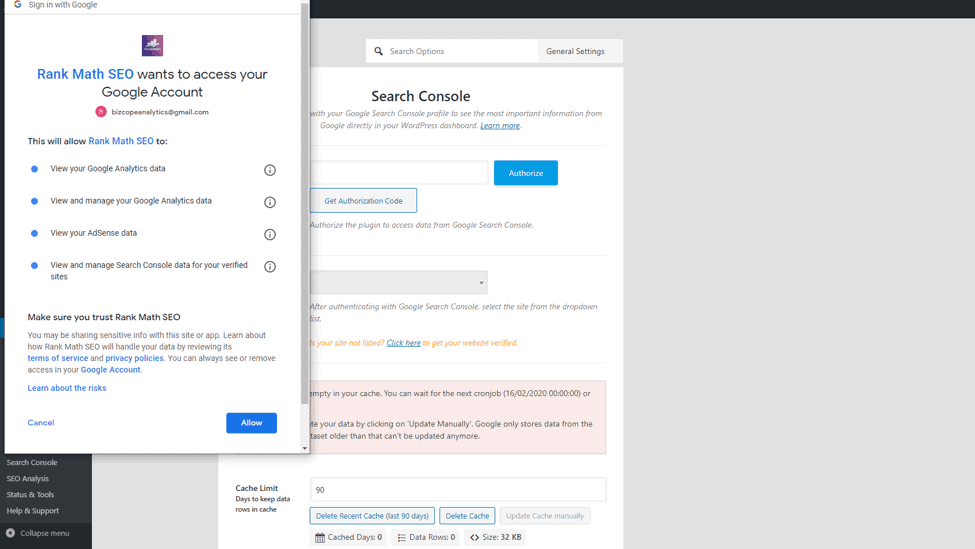
Step 12: Another pop-up window will appear and you will be asked to allow the Rank Math to access your Google account. Just click the ‘Allow’ button!
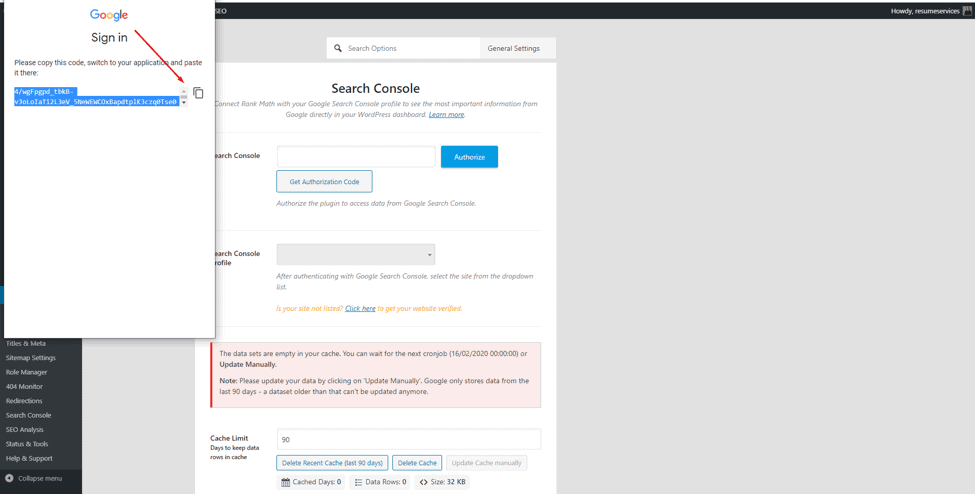
Step 13: Another pop-up window will appear and you will be asked to copy a code.

Step 14: Copy the code and paste it as shown in the image. Click the ‘Authorize’ button.
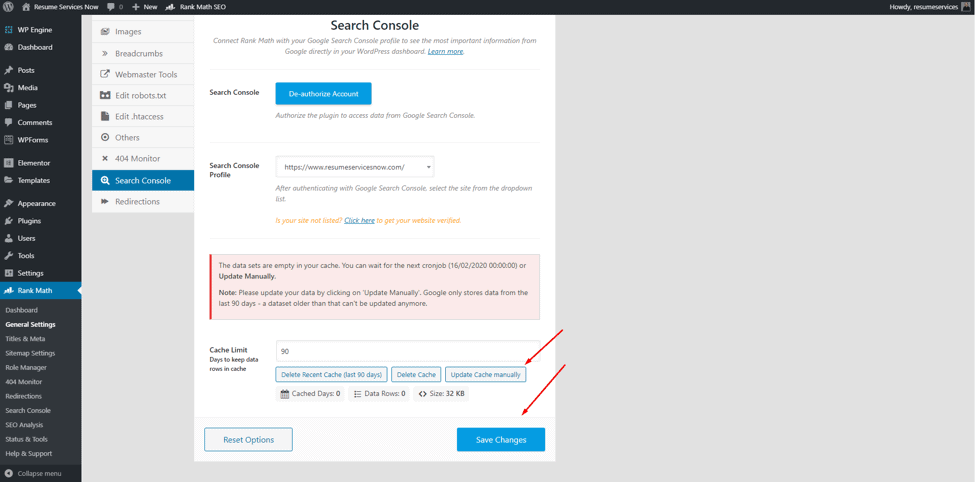
Step 15: Finally click ‘Save Changes’ to complete the Google search console (GSC) setup.
You are done with the setup! Now you visit Google Search Console to find out data of your website. Usually, you may need to wait up to 12-24 hours to appear the data on your Google Search Console dashboard.
2 Responses
I wonder where you’re getting your information, but great topic.
I need to spend some time learning more and implementing them on my website.
Thanks for great information I was looking for this info for my mission.
Very nice article, just what I wanted to find.