
Knowing how to use Photoshop tools is an invaluable skill in the age of media and exposure. With so many features, there is only so little you cannot do. Of course, the features make Photoshop indispensable and one of the most valuable tools to master in 2023. But the upshots come with one caveat: the learning curve is steep for beginners.
However, in this article, I will give you a practical beginner’s guideline on Photoshop tools that you need to know for perfect photo editing. Besides, you will see how I use these Photoshop tools and their uses.
Let’s dive right in.
Adobe Photoshop Tools in 2023
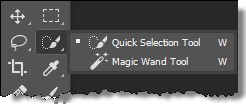
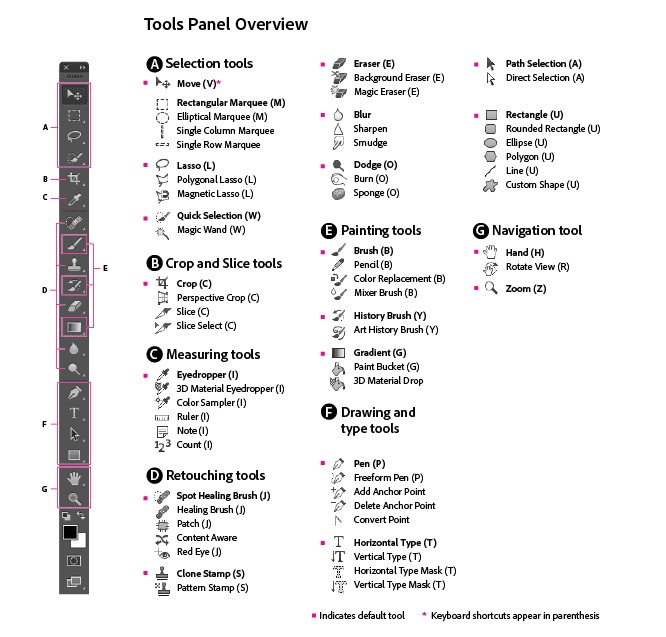
Magic Wand Tool
Where?
The Magic Wand is hidden under the Quick Selection Tool, not directly on the toolbar. Click on the ‘Quick Selection’ button to see the magic wand option on the drop-down menu. Select the option, and your cursor settings will change immediately.
When Is It Used?
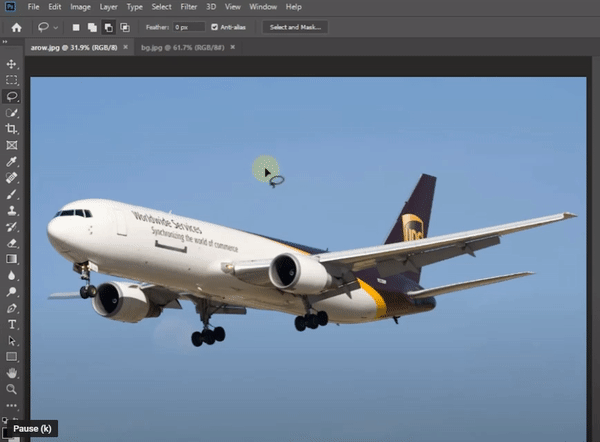
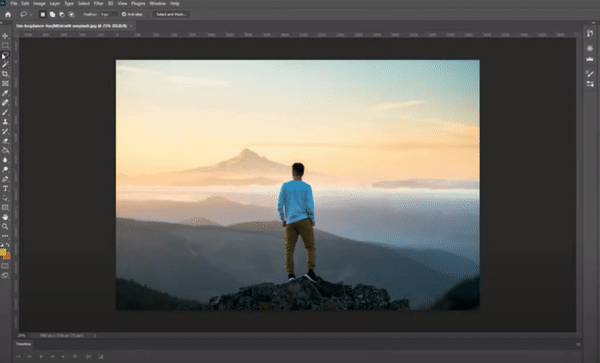
The magic wand tool or the quick selection tool in Photoshop is used when you need to select a particular part of an image based on your mouse click. For example, this tool is used to create a selection from an image or a cut-out image in Photoshop.
What Does It Do?
In a nutshell, the magic wand tool works by sampling a single-colored image and using that color to create a border around that area to create a separate region. By default, the magic wand tool will select the region with the same color, which is not what we need most of the time. Here is a quick demonstration:
How Does It Work?
The quick selection tool works well when used for selecting objects having one or two colors in the background. This is effective for separating objects from a simple background. Simply select a background color you want to separate from the object, and it will automatically form a border around similar colors and isolate the targeted object.
Move Tool
The Photoshop move tool is the most important tool needed for photo editing. You can use it to switch an object from one place to another without changing its background.
Where?
The Content Aware Move Tool should be on the toolbar to the left of the screen. Look for a ‘+’ like icon with arrows near the brush icon on the toolbar.
When Is It Used?
Using the Content Aware Move Tool to remove an object or multiple objects from an image proves to be the most effective technique in Photoshop. It’s a simple yet effective technique for beginners.
What Does It Do?
The content aware tool does two things. First, move objects of an image from one position to another. Second, duplicate a part of an image and use it in another place.
If you tick the ‘Transform On Drop’ option on the part of the canvas, it allows you to enlarge or minimize the image depending on where you place it. This transformation is useful when you want to place an object far into the background or close to the viewer.
How Does It Work?
Press the V button from the keyboard to activate the move tool. Next, loosely select the area around the object you want to separate. In this case, you can select one or multiple objects simultaneously.
Quick Tip
You cannot work with the move tool without creating layers on the image. So, if you’re getting errors while trying to move an object, then you need to check whether you’ve created any layers or not.
Marquee Tool
Where?
The ‘Marquee Tool’ is located beside the move tool on top of the toolbar. In addition, there are different marquee tools such as—rectangular, elliptical, single row, and single column marquee tools.
When Is It Used?
The marquee tool is used for selecting a specific portion of the image that you want to work on while keeping the rest unchanged. This is useful for editing only a part of the photo, not the whole.
What Does It Do?
The marquee tool chooses a specific region of pixels from the image, which you can call the ‘Active region.’ The active region is the selection of pixels bounded by the selection tool, which becomes exclusive for editing. None of the effects and colors will affect the region outside the boundary, making it useful to work on a specific object only.
How Does It Work?
Press M on your keyboard to activate the marquee tool shortcut. Alternatively, you can select the marquee tool from the toolbar beside the move tool. After that, you can select which marquee tool you need to use from the expanded option.

Holding the left mouse button, drag it on the canvas, and see a new selection appearing on the screen. Adjust it to the size you want and begin your work.
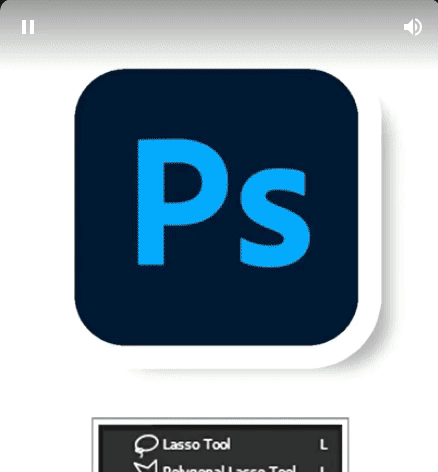
Lasso Tool
Where?
To find the Lasso Tool on the toolbar, look for a polygonal shape on the upper part of the toolbar. The Lasso Tool comes in 3 types:- lasso tool, polygonal lasso tool, and magnetic lasso tool.
When Is It Used?
The Lasso tool is used to make a selection from an image and put it in another image. In other words, it is another tool for selecting and transferring a part of an object to another place of the same image or a different image.
There are other tools for this job, but the lasso tool is the most accurate and time-saving tool selection tool.
What Does It Do?
In simple terms, the lasso tool works similarly to any other selection tool, except for a few handy options. First, you can select a region from the main image, and then you can separate and transfer without affecting the rest of the image.
How Does It Work?
Press L on your keyboard to activate the Lasso tool and select the region you need. If you are using a freehand tool, carefully follow the contours around the object so that you can carefully join the starting and the ending path. However, the polygonal lasso seems more time-consuming yet is easily manageable.
Quick Selection Tool
Where?
The ‘Quick Selection Tool’ is available directly on the toolbar under the ‘Selection Tool.’ In addition, you can find it from the same place you select, the Magic Wand.
When Is It Used?
The Quick Selection Tool is useful for selecting an object from an image with multiple colors and shades in its background. This is easy to use and usually gets the job done shortly.
What Does It Do?
The quick selection tool helps to select an object from an image. It is similar to selecting an object using the magic wand or the lasso tool.
How Does It Work?
Press the W button on your keyboard to activate the Quick Selection Tool shortcut. The quick selection tool selects an anchor much like the magic wand tool. And then, it selects all the relevant colors and shades based on that color.
In this way, it becomes easy to identify the contours of the object having similar colors, making selection faster and easier.
Fill Tool
Where?
The ‘Fill Tool’ or ‘Content Aware Fill Tool’ is located on the toolbar.
When Is It Used?
The Content Aware Fill Tool fills a void place on an image after removing an object. Also, it is used to fill the colors of a certain layer to hide an object(s) on the image.
What Does It Do?
The content aware tool fills a selected region with its background colors such that the selected region gets blended with the background color(s).
How Does It Work?
If you want to see the results of Content Aware Fill, then you have to select an object and remove it from its place.
However, if you have checked the Transform Object option, you will see that the void place on the image is analyzed and filled after removing the object.
The analysis is done perfectly by using similar background colors and shades from the surrounding background.
Quick Tip
The two most common uses of the Photoshop Fill Tool are – Foreground color filling and Background color filling. Use the Alt + Backspace shortcut for Foreground filling and Ctrl + Backspace for Background filling.
Crop Tool
Where?
The Crop Tool is located directly in the toolbar, which looks like a square with overflown edges. You can find it beside the eyedropper tool.
When Is It Used?
It is used when you want to work on a specific part of an image.
What Does It Do?
The cropping tool allows you to work with a specific part of an image. At the same time, it also discards the rest of the image from the selected region.
How Does It Work?
Selecting the crop tool immediately changes the selection on the image, and it is replaced with grids. The image has anchor points on all corners of the image, which you can select and hold to choose a part of the image on the canvas. Press Enter after choosing a region from the image, and you’ll see the rest has been discarded.
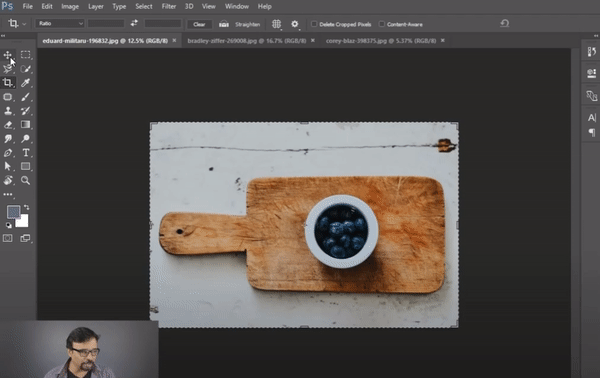
You can choose to crop an image using the original aspect ratio. However, you can change it from the Ratio expanded menu on the top-left of the canvas.
Eyedropper Tool
Where?
The Eyedropper Tool is located on the toolbar.
When Is It Used?
Used for selecting a specific color from an image.
What Does It Do?
It selects the targeted color for usage.
How Does It Work?
Press I on the keyboard to choose the eyedropper tool. The way it works is by making an anchor on the pixel that you choose, picking the color information of that pixel, and picking it as a sample color.
If you select a color using the eyedropper tool, it immediately selects that color as the primary color so that you can use it on your image.
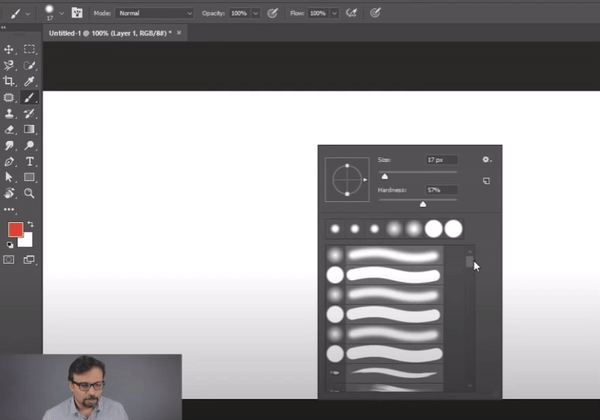
Brush Tool
Where?
The Brush Tool is available on the toolbar on the left of your Photoshop window. It should be around the middle of the toolbar under the eyedropper tool.
How Is It Used?
Press button B on your keyboard to select the brush tool from the toolbar.
What Does It Do?
Essentially, the brush tool is used to paint a certain color on a layer of the image. For example – using a specific type of brush, you can paint the grass on a layer of the image. Besides, you can paint a separate background color for your image using the brush tool.
How Does It Work?
The brushes draw a trail of hand movements on the screen. Each brush is designed differently. You will not understand the difference when using a mouse. However, using a graphical tab makes a significant difference.
Eraser Tool
Where?
The Eraser Tool can be found from the eraser option on the toolbar. If you click on the eraser button, you’ll find a menu to choose between 3 types of erasers – normal erasers, background erasers, and magic erasers.
How Is It Used?
Press button E on your keyboard to select the eraser tool from the toolbar.
What Does It Do?
Each eraser on the list has a specific usage. Mostly, it removes the uppermost layer on your image by applying a white color to give it a look and feel of a real-life eraser.
If you’ve set the image on the background layer, you can use the eraser to whiten the image.

However, setting the image as a normal layer will enable you to use the eraser and make the background transparent. This technique is useful when using the same object(s) on different mockups.
Like the magic wand, the magic eraser also selects an anchor point, selects all relevant shades of that color, forms a border around the similar colors, and removes them from the image segment.
How Does It Work?
The eraser works based on freehand movement. Hold the eraser on your image and glide it over the part you want to erase to get the job done.
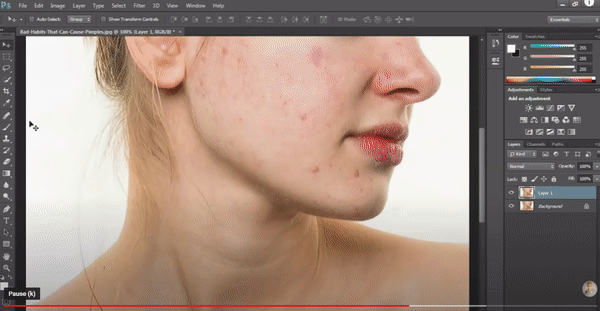
Healing Brush Tool
Where?
Click on the Brush Tool option on the toolbar. Then, select the Spot Healing Brush Tool on the expanded menu, and your cursor settings will change immediately.
When Is It Used?
The spot healing tool is used to remove unwanted details from an object. For example, you can use it to remove freckles, pimples, and dark marks from a subject’s face using the spot healing tool. However, there are other applications as well.
What Does It Do?
The spot healing tool works like magic by removing the extra facial details, dust spots, and blemishes on an image. The healing brush tool works the same way as the clone stamp tool.
How Does It Work?
The way it works is – it copies the source information of the pixels in one region and replaces it with a targeted place. So even though it works similar to the clone stamp tool, it has a significant difference.
The clone stamp tool collects the pixel information around the anchor point and duplicates it in another region. This is done without adjusting the color in the targeted place. Instead, it contrasts with the image if the wrong shade is chosen as it oddly stands out from the rest of the image.
On the other hand, the healing brush tool uses the same technique but adjusts the color with the pixels in the targeted zone. This blends the color with the target surroundings, thus making it quite impossible to spot the difference.
Healing Brush Tool
Where?
The Vector Smart Objects are not on the toolbar directly. However, you can select an object, click the right mouse button and choose ‘Create Smart Object’. You can create a smart object using a single layer or using multiple layers at the same time.
When Is It Used?
Smart vector objects are used to create high-quality objects like logos that can be enlarged and minimised without losing quality.
What Does It Do?
Like selecting an object, a regular object can be selected from an image and converted into a vector object. This is done to ensure the object or the image does not get pixelated when placed on a separate background.
How Does It Work?
Unlike rasterized images built on pixels, smart vector objects are created using mathematical formulas. This allows the smart object to be extended and minimised to your free will without thinking about quality loss. Besides, vector objects are reusable and can be edited countless times after placement.
In Conclusion
Whether you are a beginner or a professional, learning about Photoshop tools can be overwhelming as it has a steep learning path.
In all honesty, honing all the skills and mastering Photoshop tools is an ultimate test of your time, patience, and motivation to keep learning and repolishing your skills.
And before leaving, I just want to give you one last gift that I saved for last. I hope you find it useful for learning about all the Photoshop Tool because it surely helped me.
Here at Bizcope, we offer the highest quality clipping path services from skilled artists. Whatever big objects you are dealing with in the background. Our experts will erase it like nothing ever existed.