In the age dominated by social media, images are ever more important. From newspapers, to billboards, to webpages—images are everywhere. And in our efforts to make things look more appealing, photo retouching techniques are of utmost importance. Such is the use of clipping path and image masking techniques.
There is one question that arises though.
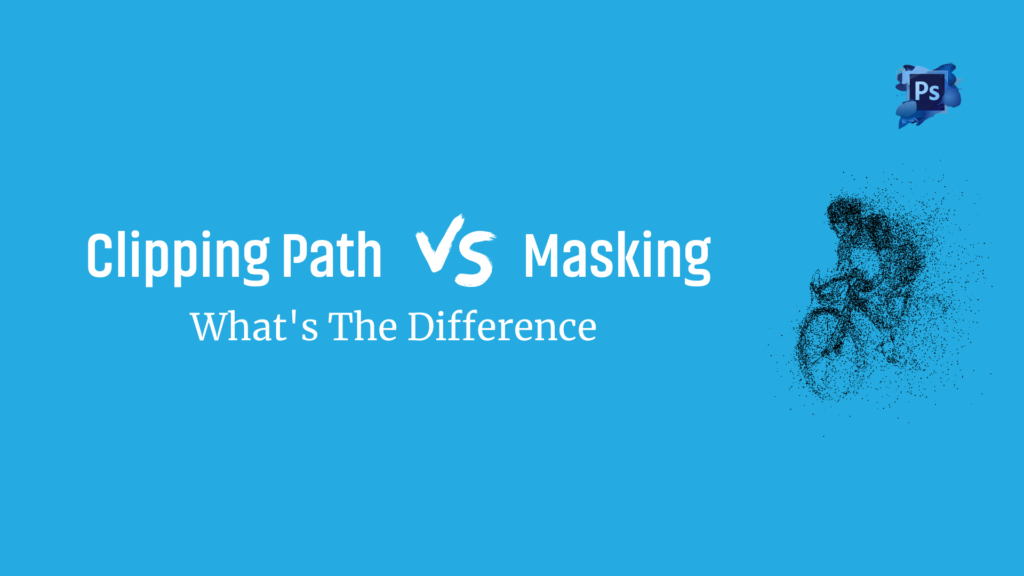
Clipping Path vs. Masking: What Is The Difference Between The Two?
Both clipping path and image masking are photo retouching techniques specifically used for editing images. They allow you to remove a specific part from an image and place it in another image or on top of another background.
The difference is the process of separating the selected object from a particular image. Clipping path is good for removing a single background from an image and also for working on non-complex objects.
Meanwhile, image masking is used for editing complex images and also to remove multiple layers from an object. This method gives you more control over your clipping and also allows you to work on multiple layers on your image. It’s a good method for color correction.
What Is A Clipping Path?
Clipping path is the process of cutting out or clipping a part of an image using the pen tool in any photo editing app like Photoshop. The pen tool allows you to cut a free-hand shape around the object that you need to separate and allows you to export it into another file. You need to draw a closed shape around the object to select it, and anything outside that margin will be excluded from it.
Drawing a clipping path takes steady and accurate hands. This is because a poorly selected contour can produce a section that may not seem natural for the other image. Also, your audience would notice the flaws quite easily. Now, you may ask – how would my audience notice so easily?
Making an uneven cut around the image keeps some pixels from the previous image when transferred to a new image. This residue of the object becomes clearly visible when put in a new environment simply because the pixels do not match the colors and tone of the new image, which makes it stand out from the rest.
The idea is to draw the line closest to the edge of the object so as to leave all possible details of the object without cutting the object itself. A good way to obtain clean edits is to contact a professional. Besides, if you want to do it yourself, try zooming the image to 200% so that you can choose to draw the closest line by yourself.
Types of Clipping Path

There are a few different types of clipping path techniques. These are:
Single-layer Clipping Path
A single layer clipping path is the simplest technique to change an image background. All you need to use is a pen tool and draw a contour on one layer of the image. And voila!
Multi-layer Clipping Path
If you need to extract multiple parts of an image, the best possible way is to use the multi-layer clipping path. This technique is useful for heavily edited images where you need to separate multiple layers of images in order to create a new color shade for the image.
Alternatively, you can create separate paths for each layer to correct the colors on a layer using this method. This gives you a better controlled approach to editing photos and brings out the accurate color.
Illustrator Clipping Path
There are a lot of photo editing tools out there to create clipping masks including Adobe Photoshop and Illustrator. In Illustrator, you have a ‘Clipping Mask’ option by default that allows you to cut a specific portion of an image in the shape that you want.
Uses Of Clipping Path Technique
- For removing a single-layer background from an image.
- Retouching photos to make them look attractive.
- Using multi-layer clipping on the chosen object.
- Make color corrections on an image.
How To Use Clipping Path in Photoshop?
Having said all about the clipping path technique, I’m going to show you how to use this technique in the most common photo retouching tool in the world – Photoshop. Here are the steps:
Step 1: Click File and from the dropdown menu, choose Open to locate the file you want to use for this project and choose the Pen tool from the Toolbar from the left.
Step 2: Zoom the image in between 200-400% and it will give you the best view of the edges around the object.
Step 3: Complete drawing the lines around the object and go to the path layer’s palette on the right. Choose the tab that saves the path of this newly selected part of the image.
Step 4: Go to File and click on Save from the dropdown menu to save your progress.
What Is Image Masking?

Image masking is another method of removing an object from its background with the use of various kinds of tools, unlike the pen tool only. Some of these tools are – background eraser tool, magic eraser, color separators etc.
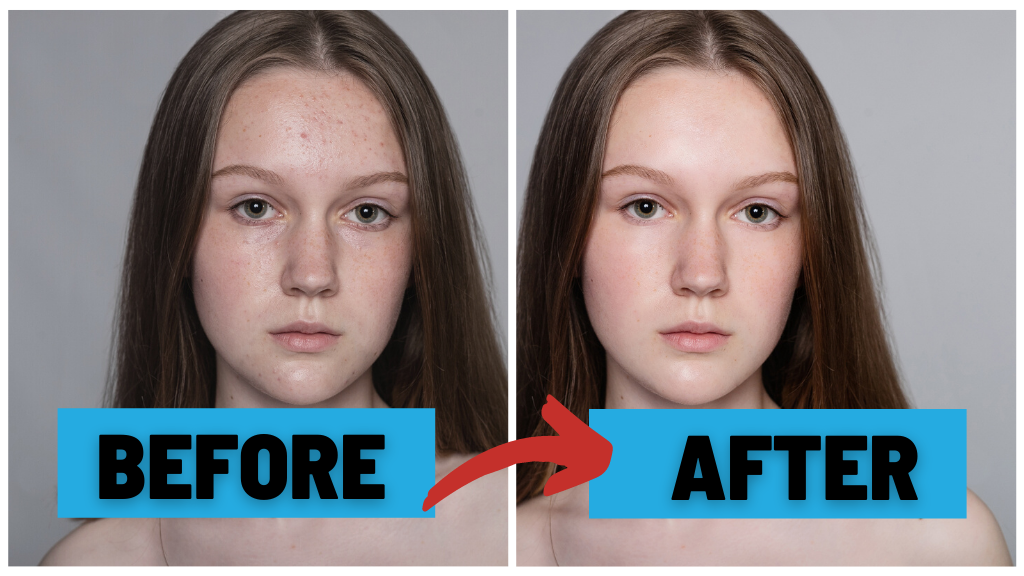
In my opinion, image masking is more complex, yet a better option for editing photos. In this way, you can only edit a certain part of your image while leaving the rest as intact. To add more, this is a great technique to work with complex objects in an image having complex lines and with a lot of details. For example—working on hair, fur, and etc.
This means, photo editors have more control over how to adjust their image. Also, if it’s a matter of color correction, working with multiple layers becomes a lot easier.
Clipping Path vs Masking: Which Technique To Use and When?
Both techniques have their own upshots. But, it is better to use a combination of both the techniques to achieve the best editing experience. So, you might be wondering – how to use both the clipping path vs masking techniques at once?
Let me break it down for you.
It is possible to use both techniques in a single image. In order to make your selected object stand out from the rest, you can choose the clipping path technique. But here is the catch – a clipping path edit will have hard and sharp edges that cannot be treated using this technique. More chances are that it will look unnatural and there is little you can do about it without using other tools.
But, this is where it gets interesting. You can edit the complex parts of the image having detailed carving by using the image masking technique. To make it look more natural than messy, you can use the masking tool to remove the background from a heavily detailed object. Besides, you can use it to keep the perfect drop shadow of an object.
So, the bottom line is – you can use a clipping path for drawing straight and minimally curved lines. On the other hand, you can use image masking technique for working on softer and more detailed areas of an image.
Uses of Image Masking
- Creating image collages
- Removing or replacing background of complex images.
- Making multi-layered modifications on an image.
To Wrap It Up
Between clipping path vs. masking, there is no single superior technique that solves all the problems of regular image editing. Both of these techniques are evenly used by photo editing services. And if both of these techniques are used perfectly, they always produce the best results. Above all, practicing both the techniques to make your editing more professional. Happy editing!
Here at Bizcope, we are providing best clipping path service in Bangladesh with an experienced team. Let us know whether we can help you.